Before you get started in making something with resin, ensure you have a read of our top tips and health and safety measures to help you do just that.
Resin Health and Safety
- Always work in a well-ventilated area
- Avoid contact with skin – use barrier cream on hands or wear gloves
- Wash hands immediately if resins do come into contact with skin
- Use eye protection
- Store resin safely in clearly marked, sealed containers
- Keep resin away from children and pets
- Always wear a mask when using abrasives
- Seek medical advice immediately if swallowed
- Do not eat or drink whilst using resin
Resin Top Tips
- Always measure out the resin first and then add the hardener, not the other way around.
- In theory, anything can be sealed in resin – however the item must be 100% dry and contain no moisture at all to work successfully. Flowers for example, must be dried for a minimum of 2 weeks before use.

- Air bubbles can be a problem when working with resin but there is a way to get rid of them should they appear. Simply pass a flame over the surface of the finished piece while the resin is still liquid and the bubbles should rise to the surface and disappear. This should only take seconds but ensure not to linger too long. A fire lighter is ideal for this.
- It’s a good idea to place a blob of liquid resin on a surface alongside the finished piece to test for drying times. This way you can prod the test blob, rather than the finished piece thus avoiding any unnecessary marking. Masking tape is useful for this.

- When filling moulds, ensure there is enough resin to form a slight dome to allow for shrinkage. Don’t be tempted to fill until level, as this will shrink and form a dip as it cures.
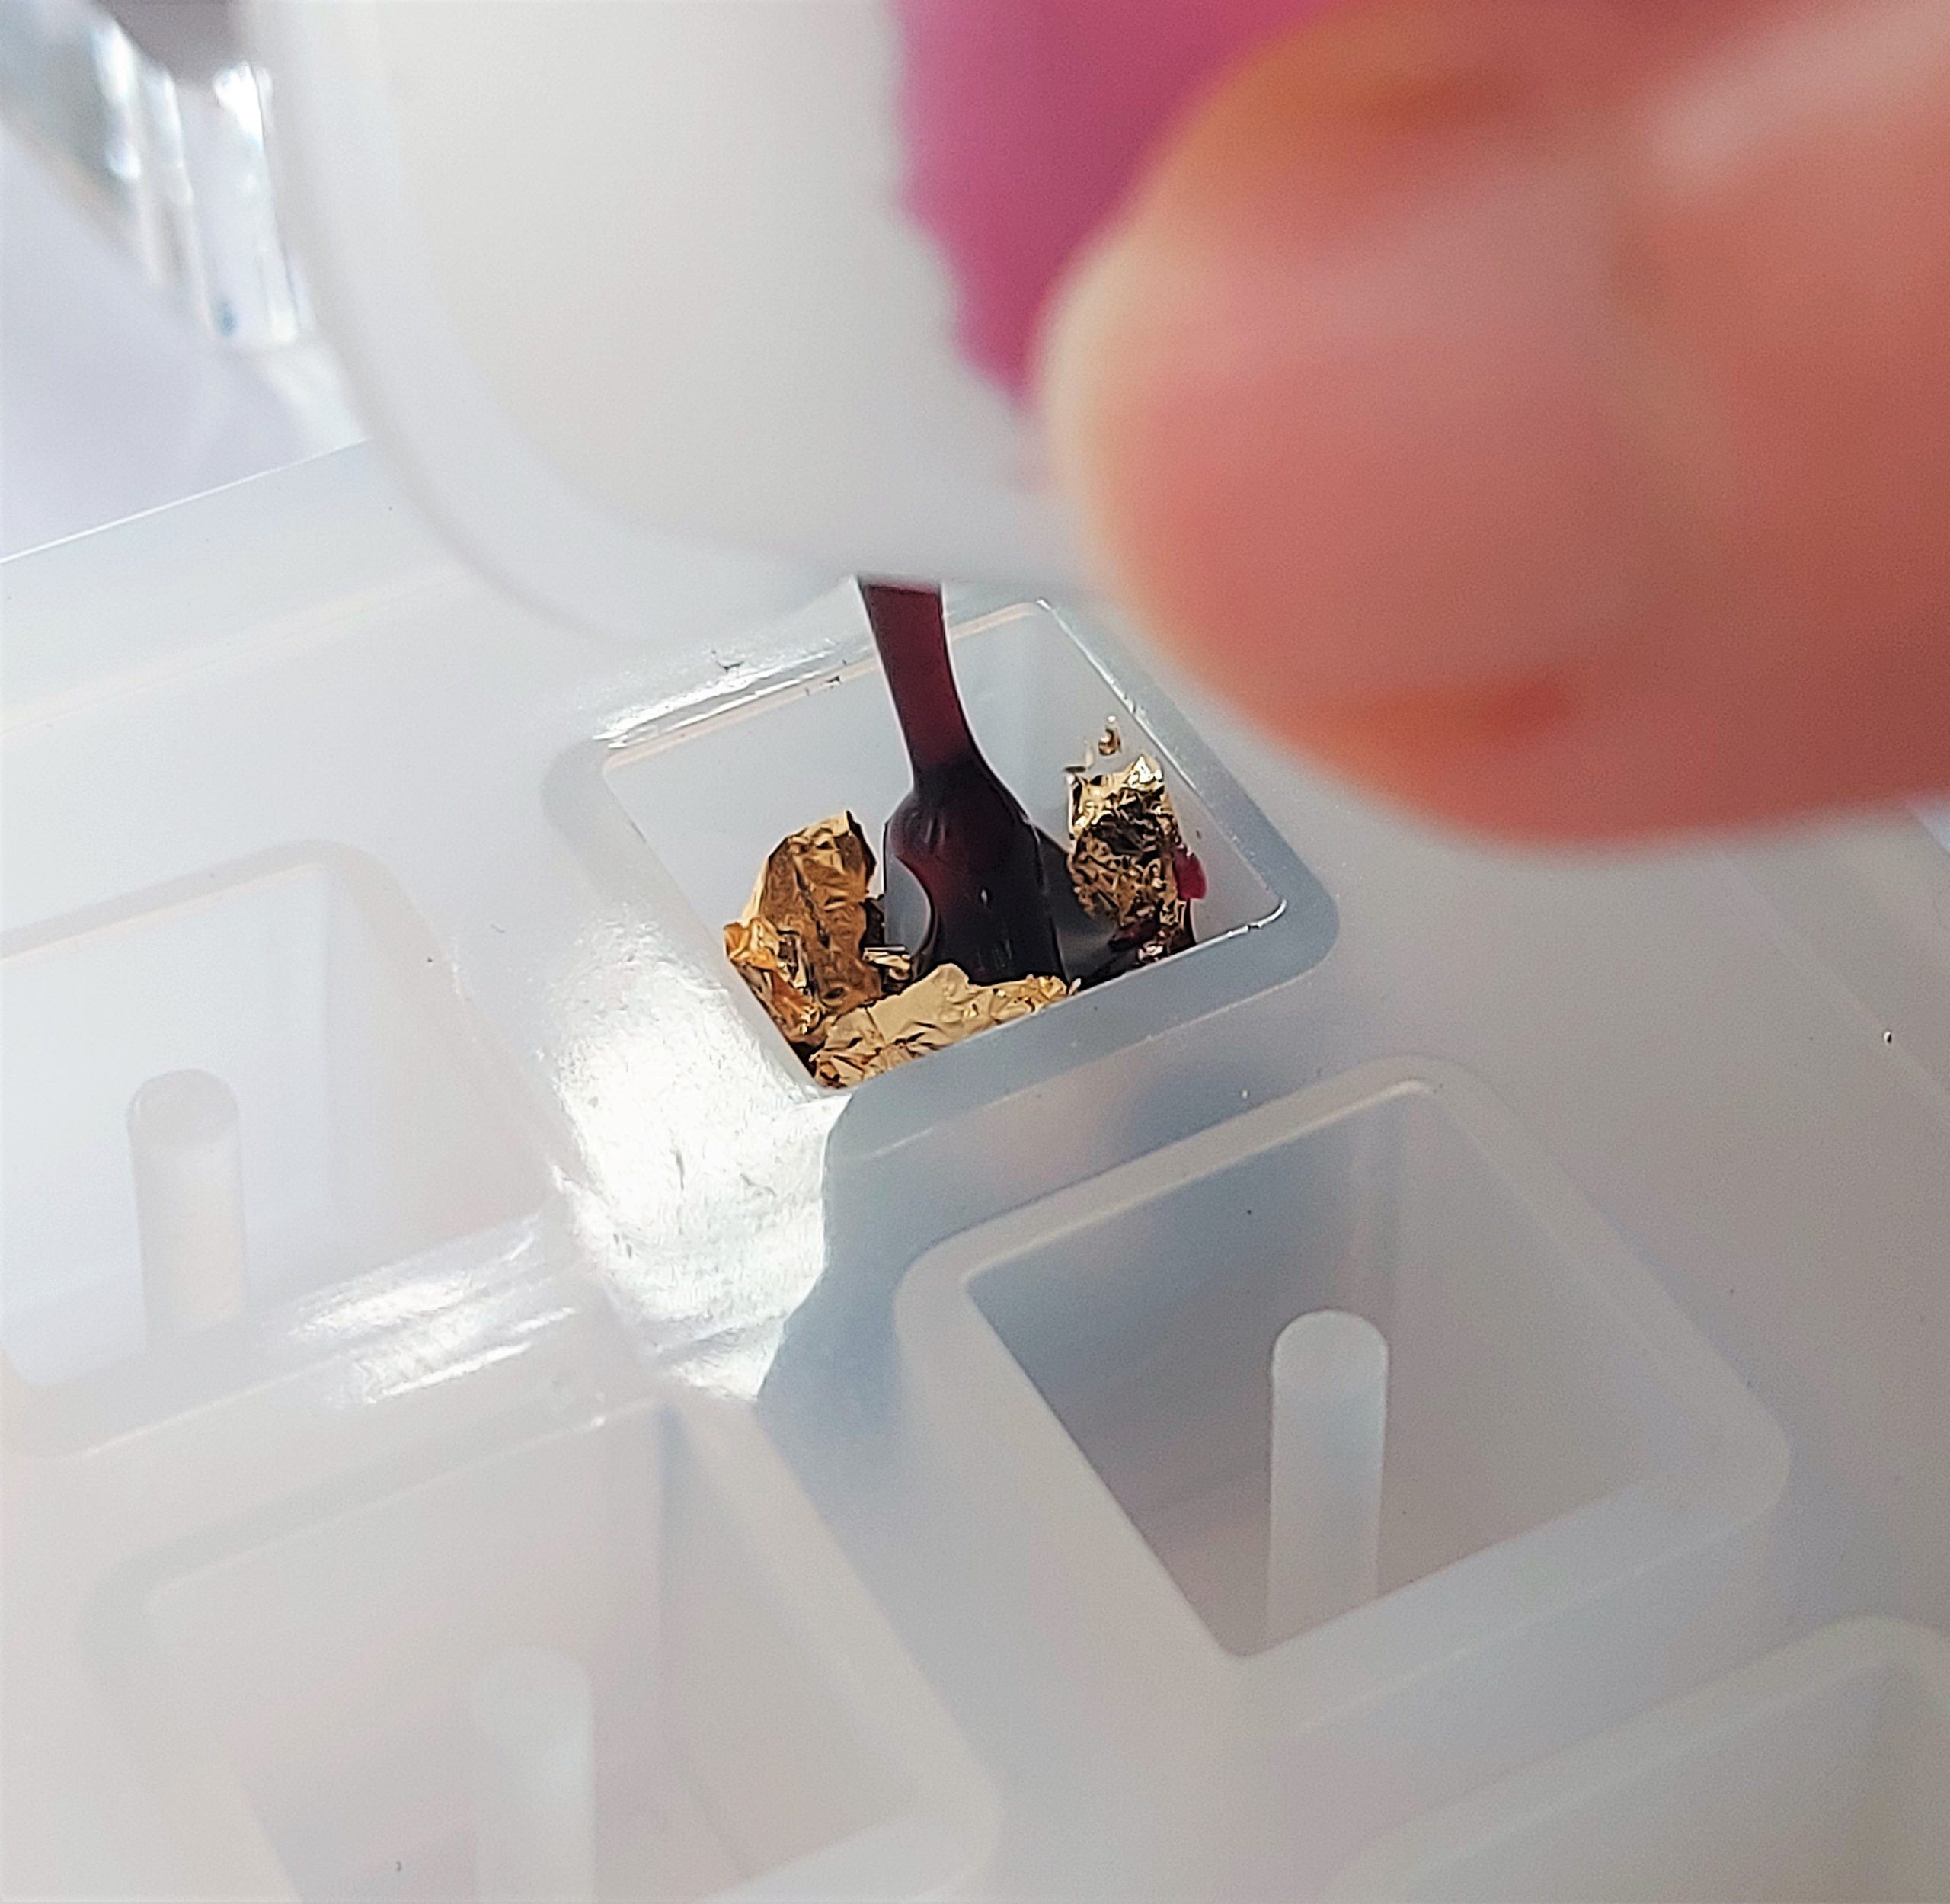
- When filling moulds containing secondary objects e.g., foils etc. its better to gradually fill the mould in layers. This prevents the objects being pushed to the bottom and means you can add more objects with each layer. If you allow the resin to start curing between layers it will hold items a little firmer so they don’t automatically sink, but beware of air bubbles when doing this!


